Yes! Here’s how
 Option #1: Drive your vehicle to the lube shop and wait in line to pay someone well over $100 for a job that takes 15 to 20 minutes.
Option #2: Stay home, break out the tools and apply a little DIY elbow grease, saving yourself a stack of cash in a time when those stacks are short to begin with.
If convenience is key, #1 will do. Otherwise, Automotive Service Technician instructor Marty Sims (Heavy Equipment Technician ’15) is happy to explain how to get your hands oily (or rather, your gloves, because he recommends wearing them).
“Realistically, it’s not that difficult,” says Sims.
“But there are mistakes to be made, like with anything.”
Here, Sims steers us away from the pitfalls and, once you’ve fired up an engine pulsing with fresh oil, toward feeling that you’ve chosen the option that’s best for you and your bank account.
What you’ll need

Up front, you’ll need to make an investment of a couple hundred dollars, says Sims, which will pay for itself within two or three oil changes. These are the must-haves:
- Personal protective equipment: “Safety is the number one thing,” says Sims. Use close-fitting impermeable gloves, safety glasses and old clothes
- A solid level surface to work on
- A high-quality jack (not the one that came with the vehicle for fixing flats) and two jack stands
- Drain bucket and rags
- Oil filter wrench
- Torque wrench
- Wheel chocks
- Brakleen brake and parts cleaner to remove oil drips from the vehicle. “It’s not for your hands,” Sims cautions
- Plastic sheet to protect your work surface
Each change, you’ll need a new oil filter and fresh oil.
Go-to guides
If you want to get to know your vehicle even more intimately than a simple oil change requires, or as part of the process, Sims recommends two key resources: Haynes and AllDataDIY. Both sell repair and maintenance manuals specific to vehicle models.
For the novice tinkerer, “I don’t recommend YouTube,” says Sims. Not all that he’s seen on the platform is accurate, nor is there any guarantee that your vehicle engine or its overall build will match a model in a video.
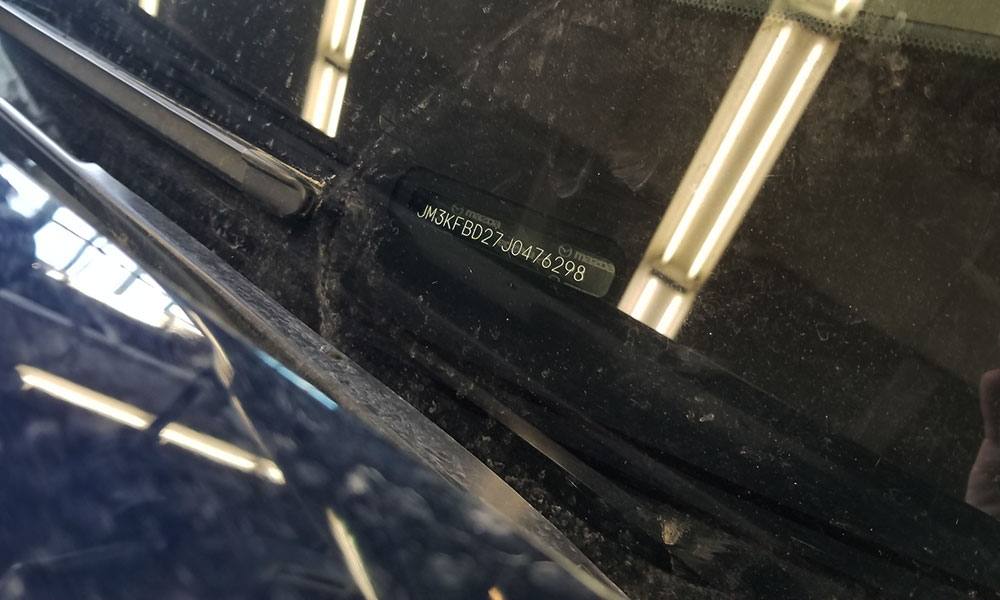
Finally, your VIN, or vehicle identification number, is a wealth of information about vehicle specs. “Everything about your vehicle is stored in that 17-digit number,” says Sims.
You’ll need help decoding it, which your dealership or a parts store can do, leading you to the info and supplies required for the job.
Vehicle prep and lifting

First, ensure the vehicle is in park and that the parking brake is engaged, says Sims. Then chock one of the rear wheels, front and back. Now you’re ready to lift.
Placing your jack correctly is essential to your safety and to avoiding damage. “A good indication of where to lift a vehicle is to use the spot where the factory jack fits,” says Sims.
On smaller vehicles, place your jack under the rocker panel on the side of the vehicle at what’s known as the pinch weld, a strong point where parts of the body have been joined.
With larger vehicles such as trucks, that weld isn’t strong enough. In that case, Sims recommends lifting at a sturdy part of the frame itself.
Once you’ve raised the vehicle to the desired height, lower it slightly onto a jack stand at a similar height. Don’t trust the jack to safely hold the weight of the vehicle throughout the oil change, Sims stresses. Repeat the process on the other side and set the vehicle on a second stand in a spot similar to the first. Then test it.
With the vehicle sitting on both stands, “usually I'll give the car a push,” says Sims. It should, of course, stay put.
Make oil the change
Run the vehicle a bit to warm the oil you’re about to change. “This gets more of the contaminants out,” says Sims. Don’t go too long, and be mindful of the heat of the oil thereafter, he adds.
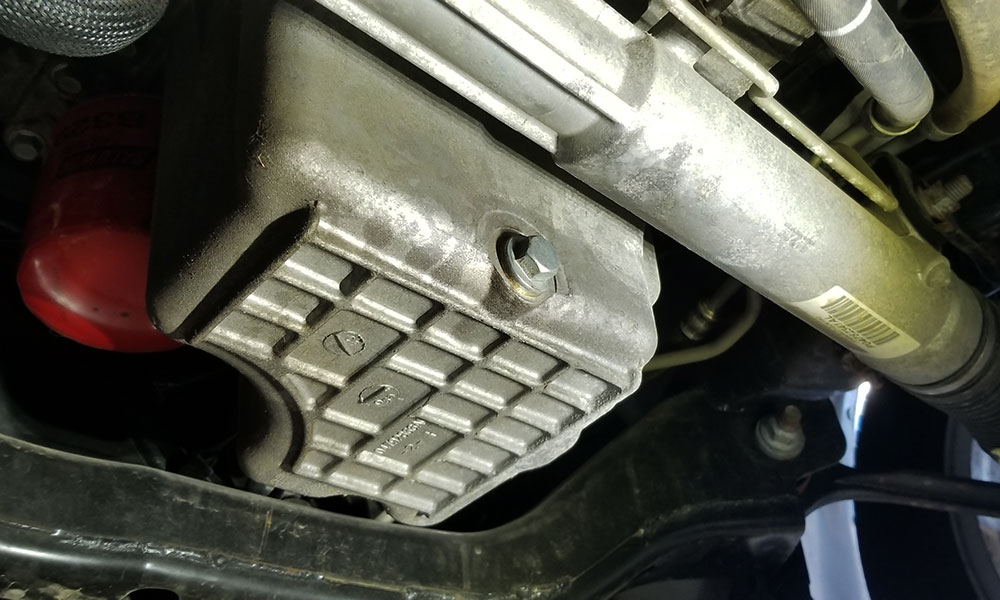
You’ll usually find the oil pan, or sump, under an easily removed plastic bib beneath the engine. A snug-fitting wrench will remove the oil drain plug (but any old wrench will not be appropriate to replace it – more on that below). Be ready with your bucket, as the oil will likely exit the sump quickly.
Once the oil is out, wipe the plug and check that the gasket isn’t cracked. If not, replace the plug using a torque wrench. This tool, which you’ll set to a measurement specific to your vehicle (find that online), ensures that you won’t overtighten the plug and strip the threads, says Sims, leading to a pricey repair.
Filter and fill
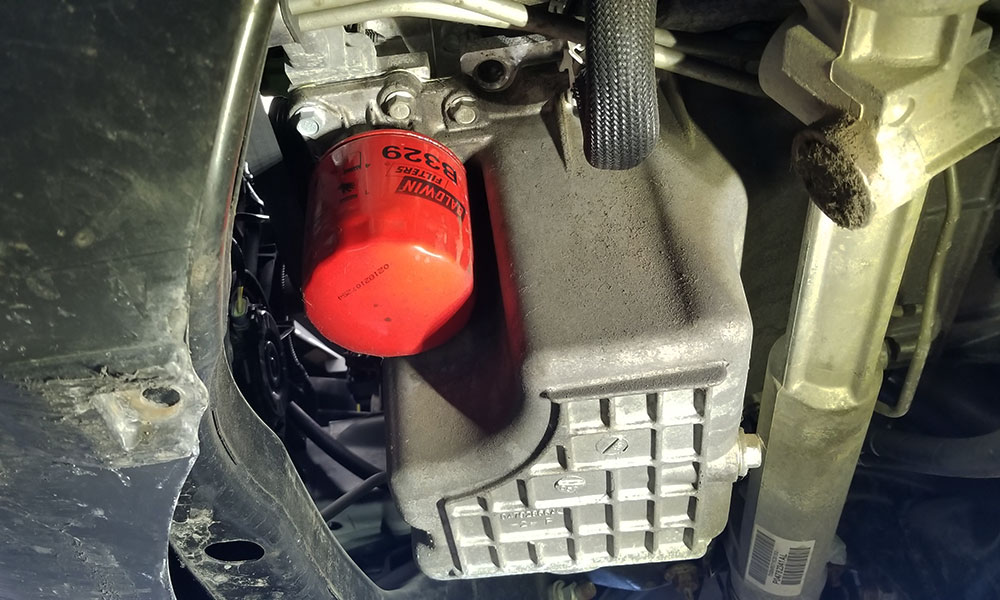
To remove your oil filter, you’ll need another special wrench. When that’s done, wipe inside the filter housing on the vehicle to ensure that the previous filter’s gasket hasn’t been left behind. If so, remove it so as not to double up on gaskets and cause sealing problems, says Sims. Wipe the housing again.
Before you install the new filter, coat its gasket with a thin layer of fresh oil. Do not use the wrench to tighten it, warns Sims. Instead, hand-tighten firmly.
“If you put it on with a wrench you can damage the housing,” he says, also leading to stripped threads.
When shopping for a new filter, Sims recommends one from the dealership. They’re more expensive, but they’re designed specifically for your vehicle.
As for oil, look to your vehicle manual for the type and amount needed. Sim’s compact Honda Fit, for example, uses about 3.5 litres, but a large truck might need as much as 45. Add just shy of the recommendation then run the vehicle for a minute or two to circulate the oil throughout. Shut it off and top up.
Mark your mileage so you know when to make the next change, according to the schedule in your manual.
 Dispose of old oil safely
Sims puts his old oil into empty containers from the new oil. It can go to an eco station or even just to a local mechanic shop, which is obligated to accept it without charge whether you bought it there or not, says Sims.
“You paid the eco fee when you bought the oil,” he points out.
Ask for help
The next best thing to being a mechanic is being able to learn from one firsthand. “If you’re not sure, ask someone,” says Sims.
That is, for your next, and possibly last oil change done by someone else, take your vehicle to your friendly neighbourhood mechanic and ask if you can watch from a safe distance. Ask questions. Soon enough, like a well-oiled machine, you’ll be completing the task yourself.
Synthetic vs. mineral
There are a variety of differences between synthetic and mineral oils, including how they’re made, main ingredients and so on. For Marty Sims, however, the primary difference is in the effects each has on your vehicle over time.
“The lifespan is shorter if you use mineral oil,” says the Automotive Service Technician instructor.
Mineral oil, he says, breaks down faster than synthetic. That is, it loses its essential lubricating properties that help your vehicle run at peak performance.
Banner image by cihatatceken/istockphoto.com